Need help with a specific project?Share your brief

13 Jewellery Product Photography Tips

Written by Amy on • min read •Community
Your jewellery product photography is the main factor between a customer and a sale. But taking high quality images of shiny surfaced items has a lot of challenges. Below we have created a series of tips to help you take compelling photos for your jewellery business. With advice on backgrounds, equipment and jewellery photography ideas.
Scouty is here to help you find the best locations for your e-commerce product photography. Check out our database of studios and interiors for all your creative projects.
1 Pick a Jewellery Photography Style
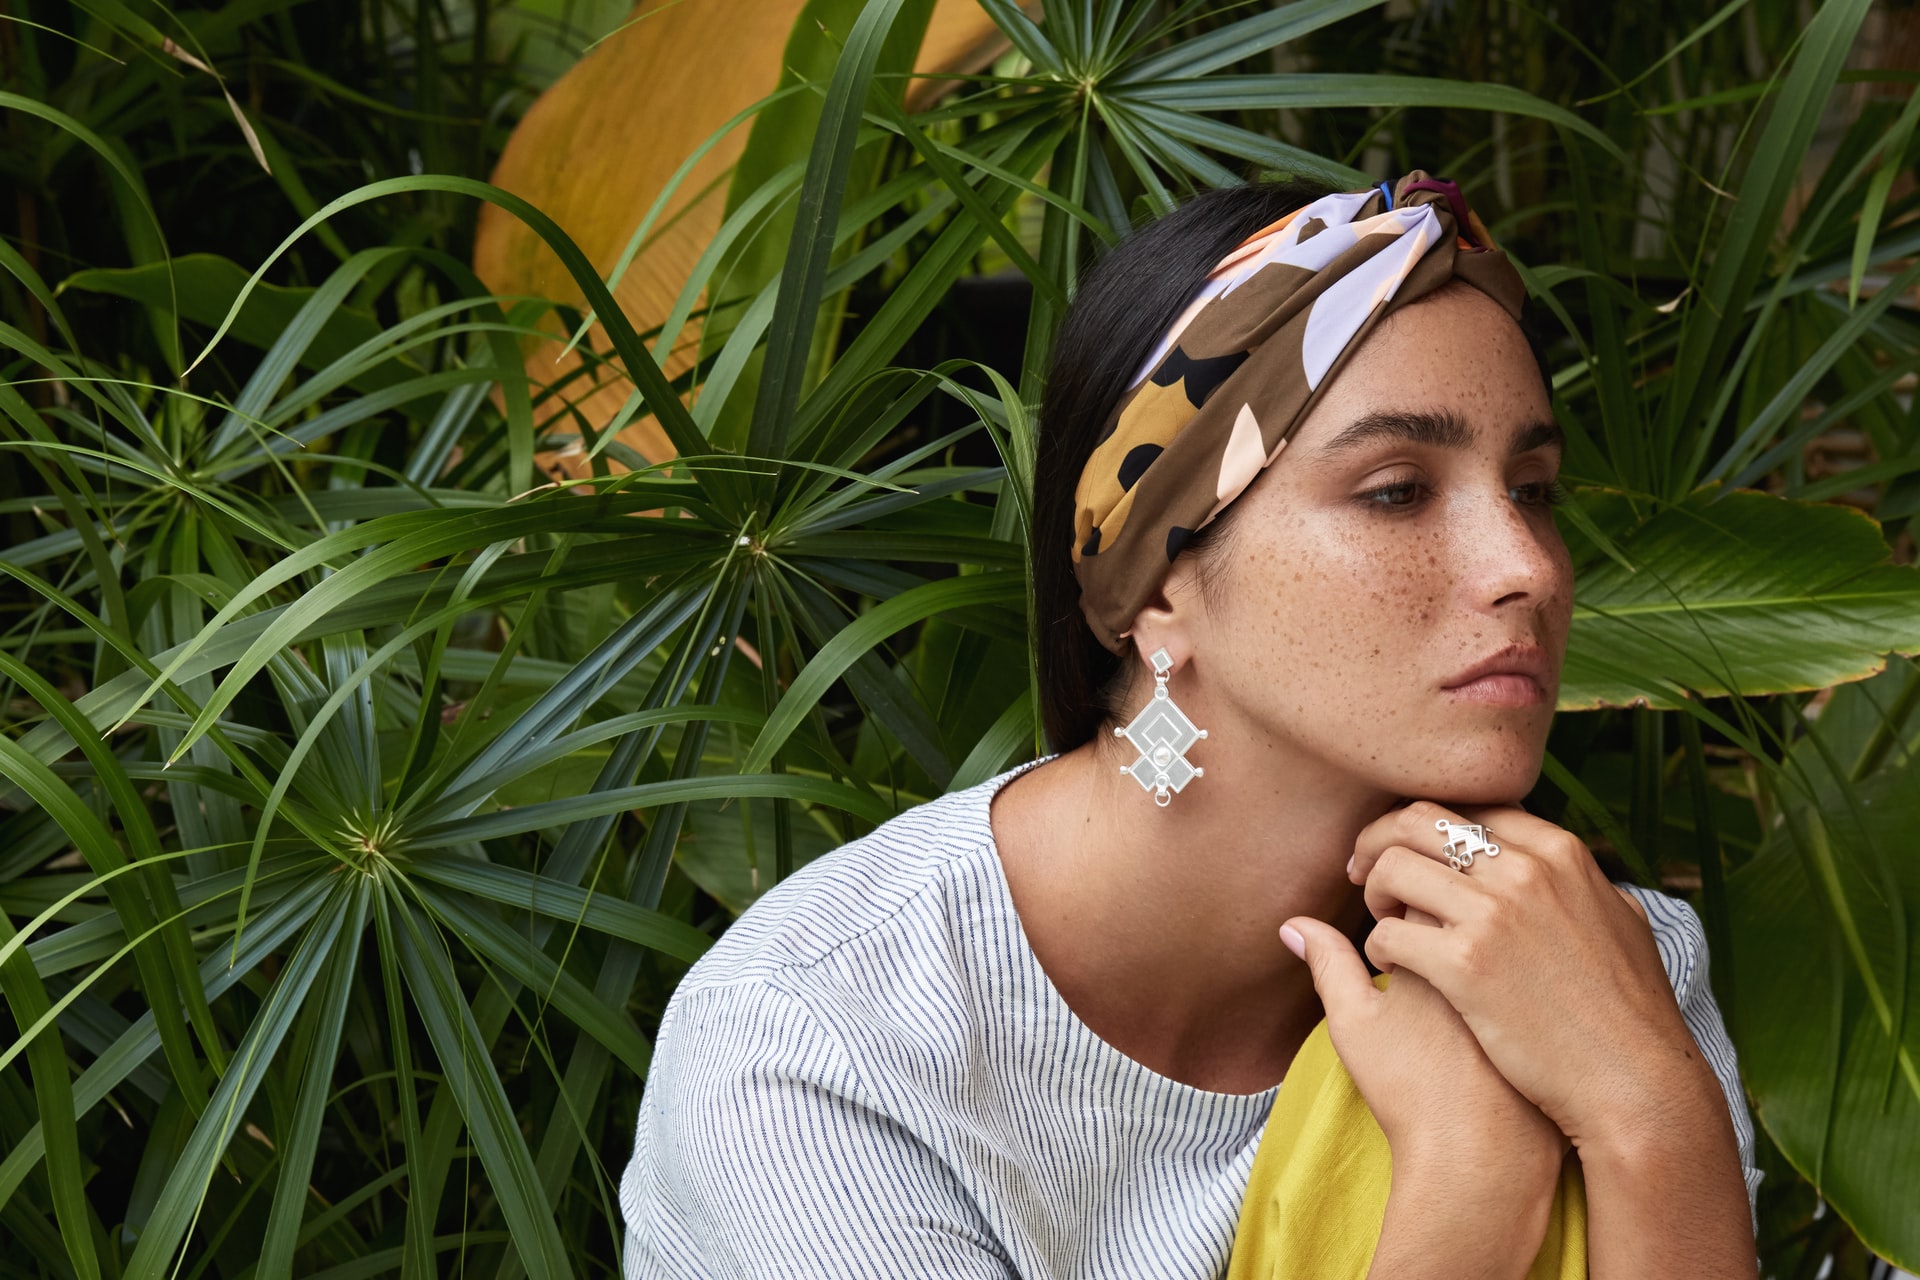
Jewellery product photography comes in three notably styles. First is e-commerce, typically when an item is on a plain background without a model. Next is lifestyle photography, where a model wears the jewellery. Last is when you have a model but don’t show their face, e.g. a shot of a model’s wrist wearing a watch.
Your style depends on your brand and how you want to advertise your products. If in doubt, research your competitors and take note of their product photography. However, it is now typical for a brand to show a series of shot types throughout their website.
2 Hire Models For Your Jewellery Shoot
If possible, hire a professional model to wear your jewellery. An experienced model will know how to pose, helping you make the most of your studio time. A model also allows your customer imagine what the items look like when worn. Plus, it provides an idea of the size and scale of the product.
In many ways, jewellery photography is a type of fashion photography. Your goal is to make sure that you display the product in a flattering way. So, pay attention to the details, your model’s costume colour and background. Although, keep in mind product should always be the focal point. You can book models online at Contact.

3 Book a Location
You can shoot jewellery product photography in any location. This could be a studio space, fancy shop, luxurious house or another site. What matters is that your background matches your brand and marketing. E.g., you could photograph your model wearing jewellery inside a mansion house.
4 Choose a Background
For traditional e-commerce photography, you would shoot on a plain white background. However, there are no set rules regarding jewellery product photography. As well as the colour, consider the texture, lighting and reflective surface of the background.
Your background might also tie into your branding or contrast with the colour of your product. During, Lifestyle photography, you can place your model in any location and environment. So, feel free to experiment with backdrops and how your present your images.
5 Hire Equipment
Even if you hire a photographer, you will still need to hire equipment. Your equipment list includes a camera kit, tripod, lighting, lighting stands, sandbags and backdrops. If in doubt, ask your photographer or studio for recommendations.
During your shoot, check your camera settings and watch out for hotspots. A hotspot is when your lighting is too bright on parts of your product. To soften your lighting, use soft box lighting, diffusers and move your lighting away from the product.
6 Plan Lighting
Speaking of lighting, if you are new to product photography, we strongly suggest you have a prep day. A prep day will allow you time to practice your shots, lighting and editing. In addition, a prep day lets you create a shot list so you can make the most of your time.
It’s common for a studio space to come with various in-house lighting and equipment. So, you might be able to experiment without the need to hire more equipment. Depending on your budget, you can bring a model to a prep day or use a stand-in.
7 Buy Props
A lot of jewellery product photography features props. Without invisible strings, stands and raised surfaces, the products would not stand out. Note that this is especially true for flat items like necklaces and bracelets. Jewellery looks better on a stand, hung up or worn.
When designing your image, pay attention to the whole picture. It’s not just the product but the surrounding setting. The setting includes props, costumes, makeup and background.
8 Use a Macro Lens
The lens you use will influence the image quality. Use a macro lens or, for a cheaper alternative, an extension tube for close-up shots and details. By doing this you will magnify your subject and allow it to fit into the frame even if it is tiny.
It’s best practice to hire a range of lenses for your shoot giving you more versatility. Although, before your shoot, you should have an idea of what type of shots you are hoping to achieve.

9 Focus on Detail
Jewellery product photography is all about focusing on the details. The products you work with are likely small, and your customer will want to see all the features. In addition, if you use a macro lens, your item must be clean and smudge-free. You need to take great care when handling your jewellery. Buy cotton gloves and have cotton swabs close by for cleaning. With jewellery photography, any smudging, defects or dents will show up very clearly and impact your sales.
10 Avoid Reflections
Avoiding reflections is one of the most challenging aspects ofjewellery product photography. Gems and metals will have highly reflective surfaces. If you allow these reflections, your item can look cheap and of poor quality.
You can avoid reflections by using soft light and keeping your items smudge-free. Another technique is to light your item from the side instead of above. Because each item is different, you must play around with your lighting. For reflective e-commerce photography, you might have more luck using a pre-built lightbox.
11 Try Different Angles
With e-commerce, the more photographs you have, the better the sales conversions. Customers want the same experience online as they get from visiting a shop. So, make the buying process easier by including images from different angles.
For reference, try to get a front, side and back view of your item. In addition, if your item has any details such as engraving, ensure to include a macro close-up of this.
12 Stay on Brand
When designing your photography, make sure that you stay on brand. By doing this, your images and branding will remain consistent online, even on social media such as Instagram and TikTok marketing.
If the brand you’re photographing for already has a created design, try to follow this. If you change the brand direction, you will need to gain permission from the client. By researching other jewellery brands, you will find that all of their photos online follow the same design.
13 Edit Your Photos
All jewellery product photography needs retouching and colour correcting. You can create higher-quality images by using Adobe Photoshop or Lightroom. If you don’t know how to edit photographs, consider hiring a professional to do this for you.
Remember, throughout your e-commerce photography, consistency is vital. Your colour contrast, photo margins and overall style must match. Plus, by being consistent, you create high-quality branding that will increase online sales.

Find Photography Locations
Scouty is here to help you find the best locations for your e-commerce product photography. Check out our database of studios and interiors for all your creative projects.